-40%
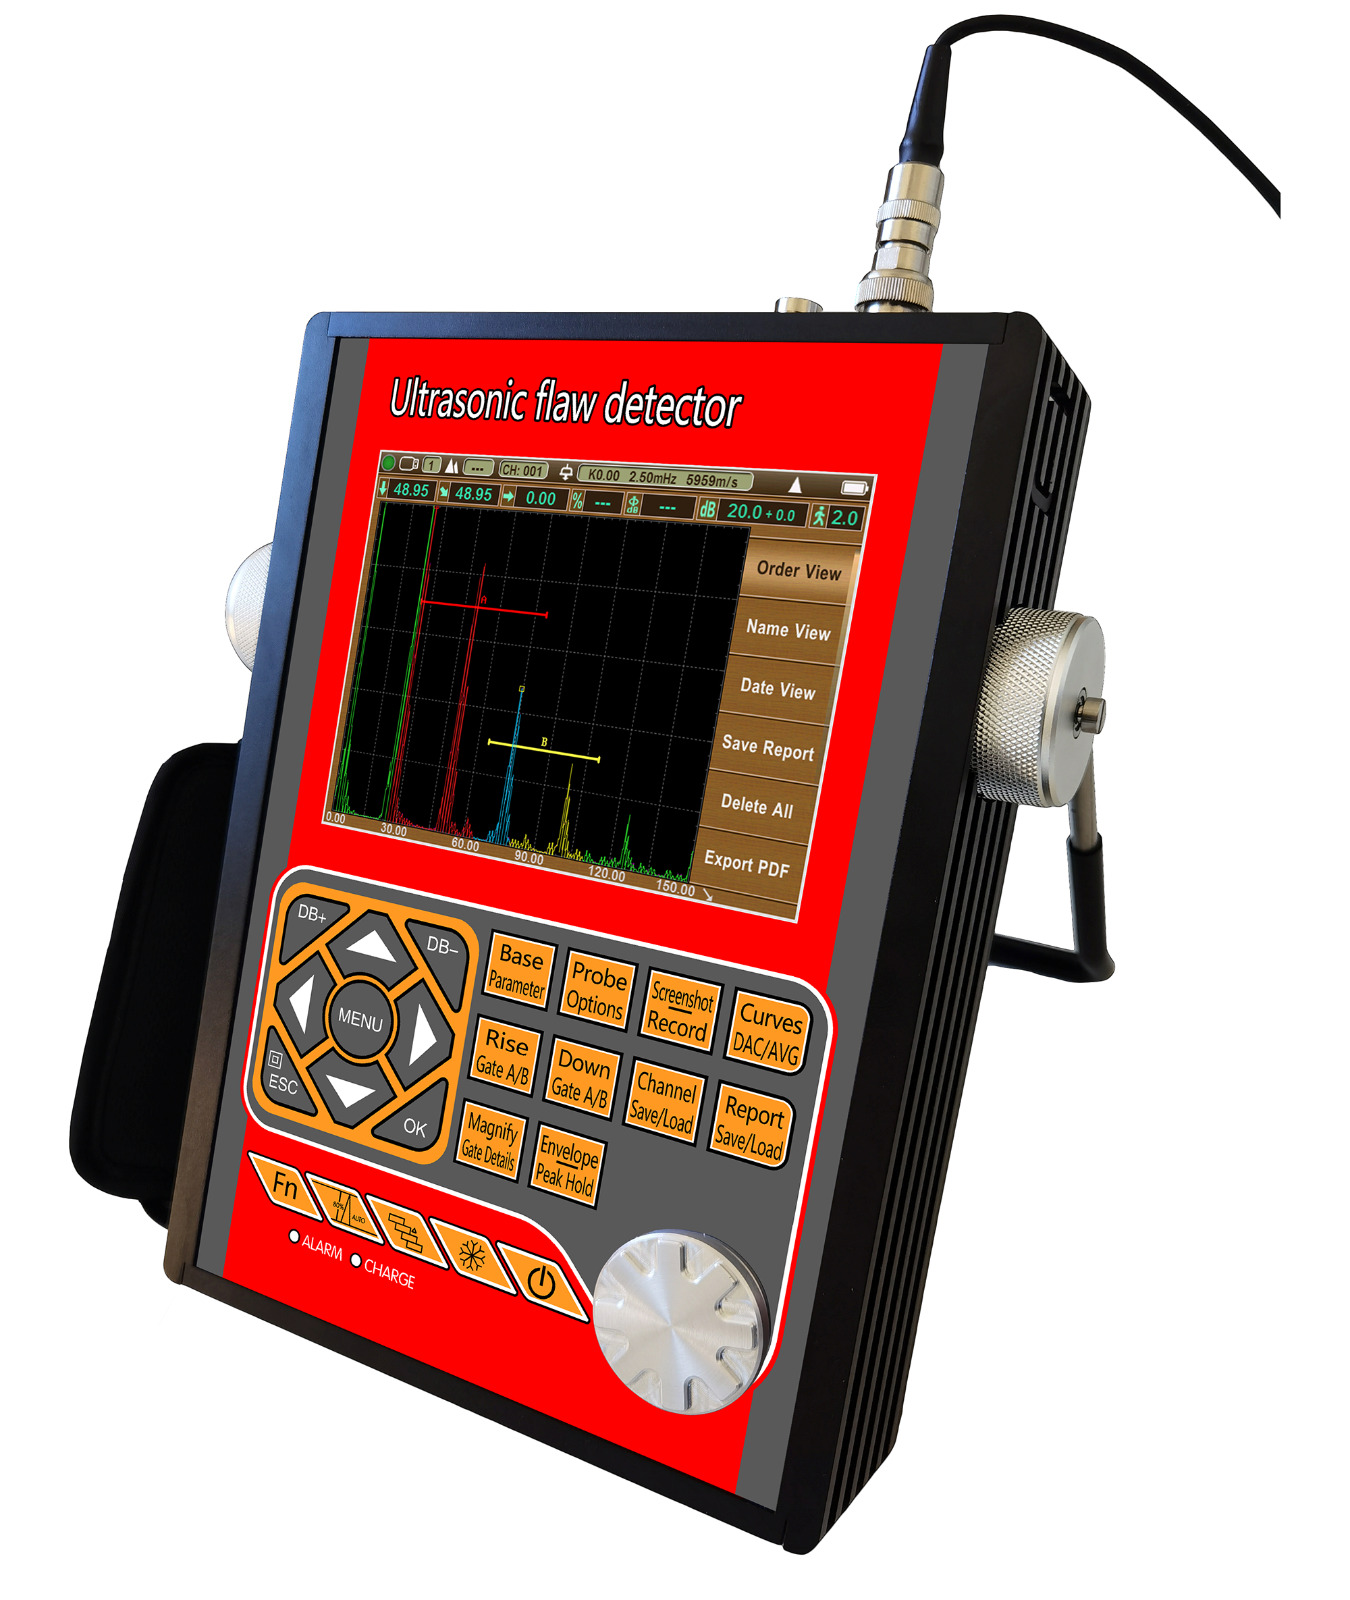
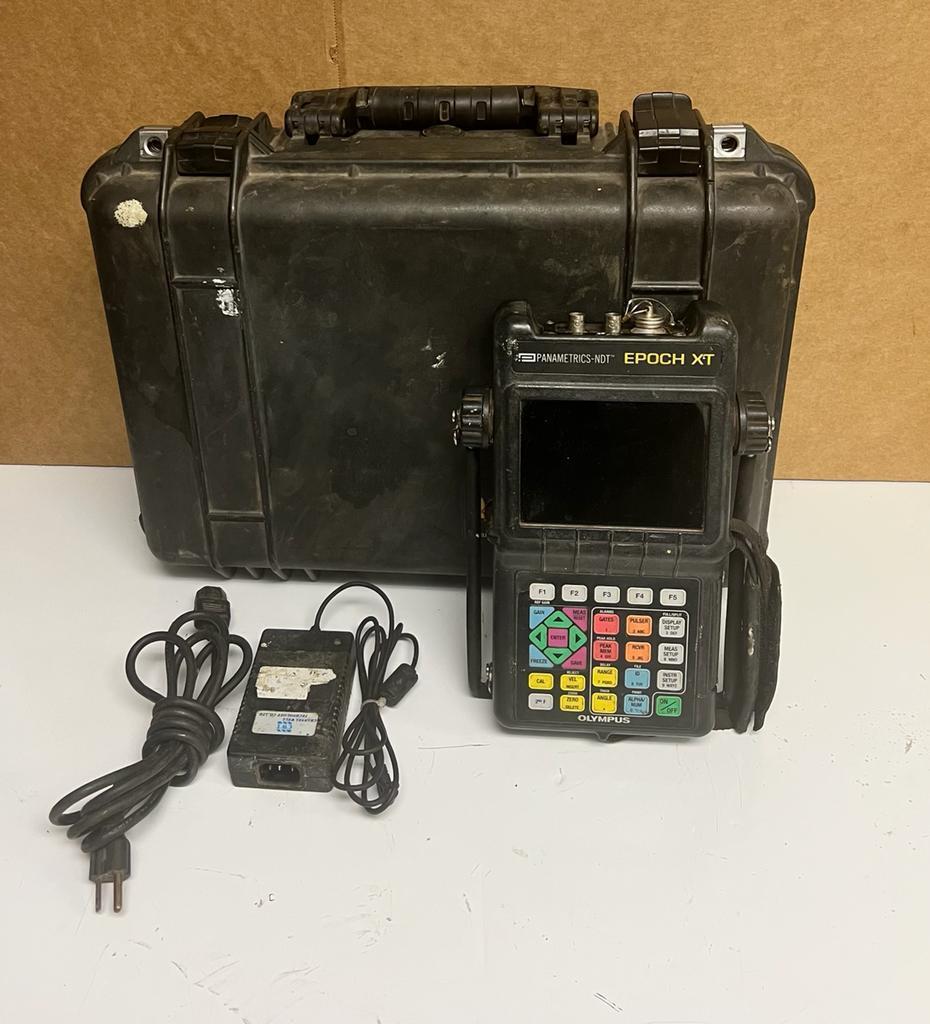
Lab Industrial Ultrasonic Flaw Detector Crack Inclusions Pores Defect Locator
$ 1056
- Description
- Size Guide
Description
Lab Industrial Ultrasonic Flaw Detector Crack Inclusions Pores Defect LocatorIntroduction:
1. This instrument is a portable industrial digital ultrasonic flaw detector that can detect, locate, evaluate and diagnose various defects (cracks, inclusions, pores, etc.) in the workpiece quickly, conveniently, without damage, and accurately. It can be used both in the laboratory and on the engineering site. This instrument can be widely used in manufacturing, iron and steel metallurgy, metal processing, chemical industry and other fields that require defect detection and quality control. It is also widely used in online safety inspection and Life assessment in the fields of aerospace, railway transportation, boilers and pressure vessels, etc.
2. The instrument can be widely used in locating and sizing hidden cracks, voids, disbands, and similar discontinuities in welds, forgings, billets, axles, shafts, tanks and pressure vessels, turbines, and structural components.
Features:
1. The core hardware is designed with ARM+FPGA, and the software uses a highly reliable multitasking operating system, which greatly improves the function, portability, durability and reliability of the instrument.
2. This instrument uses a master-slave menu, and is designed with shortcut keys and a digital rotary knob.The instrument is light and portable, and can be held with one hand.
Display:
Full-digital multi -color high-resolution (640×480 pixels) multi-color TFT LCD display. The waveform display is more delicate and humane.
4 operating interface styles can be selected according to the environment.
The LCD with fast 60 Hz update. Able to display subtle waveform changes.
The LCD brightness can be set freely.
Shape:
The all-aluminum metal shell is strong and durable, and the electromagnetic shielding performance is very good.
360-degree rotating damping bracket and rubber sheath are easy to use.
Tempered glass panel, extremely hard, wear-resistant and scratch-resistant
Screenshot and PDF flaw detection report:
Real-time screenshots of all pages and flaw detection reports, and save them as BMP pictures to U disk, which can be set as color or grayscale pictures.
Export the flaw detection report as a PDF file and save it to a U disk for easy archiving and printing.
All contents of the PDF file can be customized according to user needs.
BMP pictures and PDF files can be viewed on a computer or mobile phone.
Range:
Up to 15000mm in steel; range selectable in fixed steps or continuously variable. Suitable for use on large work pieces and in high-resolution measurements.
Pulser:
Pulse Energy selectable among 100V,200V, 250V,300V,350V, 400V and 500V.
Pulse Width tunable from 0.1µs to 0.5 µs to match the probes with different frequency.
Pulse Repetition Frequency adjustable from 20 Hz to 2 KHz.
Damping selectable among 50Ω、150Ω、250Ω and 500Ω for optimum probe performance
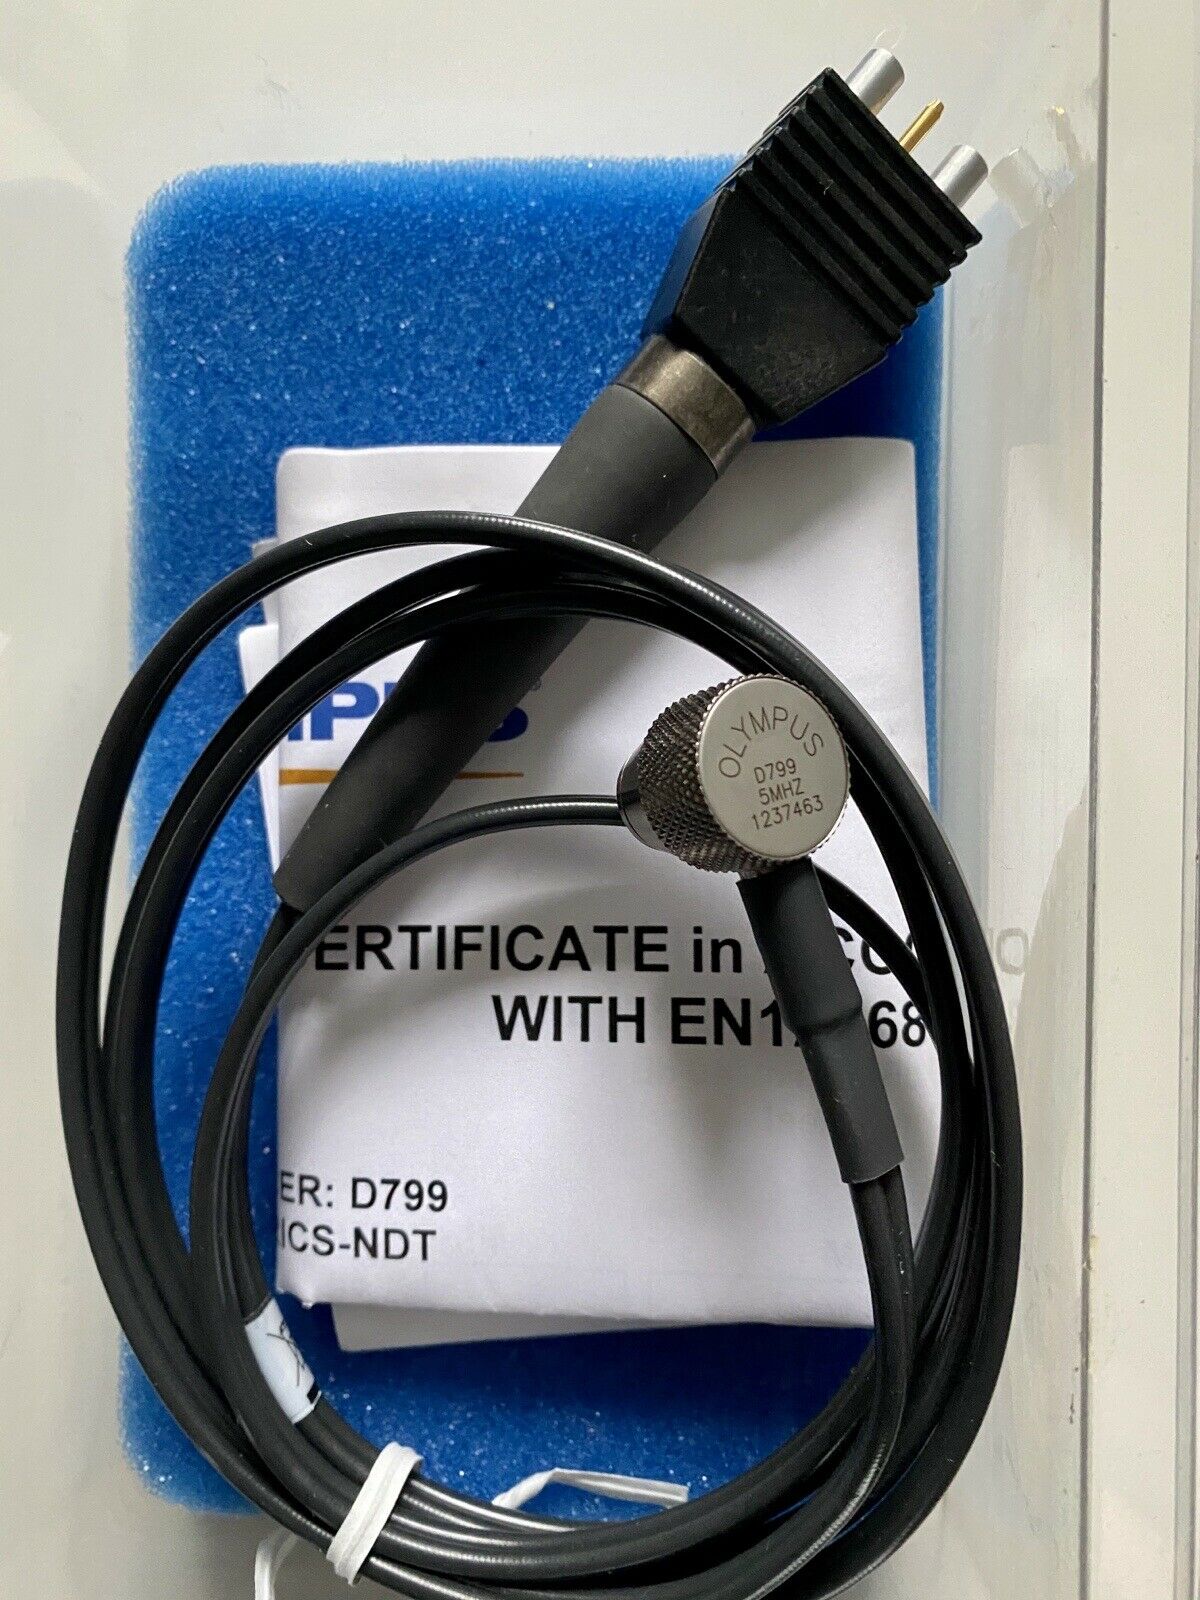
Probe selection: single crystal probe, dual crystal probe, special angle probe, penetrating probe, climbing probe.
Receiver:
Sampling:16 digit AD Converter at the sampling speed of 320 MHz
Rectification:Positive Halfwave, Negative Halfwave, Fullwave and RF
Analog Bandwidth: 0.2MHz to 20MHz capability with selectable frequency ranges (automatically set by the instrument) to match probe for optimum performance.
Gain:0 dB to 110 dB adjustable in selectable steps 0.1 dB, 2 dB, 6 dB.
Gates:
Two fully independent gates offer a range of measurement options for signal height or distance using peak triggering.
The echo-to-echo mode allows accurate gate positioning for signals which are extremely close together.
Gate Start: Variable over entire displayed range
Gate Width: Variable from Gate Start to end of displayed range
Gate Height: Variable from 0 to 99% Full Screen Height
Alarms: Threshold positive/negative with LED Flash.
Memory:
The instrument has a built-in large-capacity memory, and data and files will not be lost due to power failure of the instrument.
Memory of 500 channel files to store calibration setups and probe parameter.
Memory of 1000 wave report files to store A-Scan wave and settings.
All the files can be stored, recalled and cleared.
The channel settings and report files can be exported via U disk, and the information can also be stored in unlimited amounts via USB memory.
Video Recorder:
Video Recorder is useful in many situations, it is very convenient for those who want to analyze the probing activities later.
The instrument can record the test process and save it as a video file, which can be played back through the instrument or special software. It supports up to 10 video files, and each video file can be up to 5 minutes long.
If you choose to save the video file to the U disk, the number and duration of the video file will not be limited.
Recording and replaying the testing process provides great convenience for future study and analysis of flaw detection.
Video playback supports pause, fast forward, fast rewind, and stop functions.
Functions:
Auto calibration: Automated calibration of probe zero offset, probe angle (K value) and material velocity.
Flaw Locating:Live display Sound-path, Projection (surface distance), Depth, Amplitude,
Flaw sizing: Automatic flaw sizing using AVG or DAC, speeds reporting of defect acceptance or rejection.
Digital Readout and Trig. Function: Thickness/Depth can be displayed in digital readout when using a normal probe and Surface Distance and Depth are directly displayed when angle probe is in use.
DAC/AVG:The curve is automatically generated, and the sampling points can be compensated and corrected. The curve automatically floats with the gain, automatically expands with the detection distance, and automatically moves with the delay time. It can display the AVG curve of any aperture.
AWS D1.1. Choosing this standard can reduce manual calculations and improve detection efficiency.
Curved Surface Correction feature.
Crack Height Measure function.
Gate Magnify :spreading of the gate range over the entire screen width.
Video Recording and playback.
Auto-gain function
Envelope: Simultaneous display of live A-scan at 60 Hz update rate and envelope of A-scan display
Peak Hold: Compare frozen peak waveforms to live A-Scans to easily interpret test results.
Peak mark: capture and mark the peak in real time
Echo coding: display 1~9 echo display area in different colors, used to analyze the defect position.
A Scan Freeze:Display freeze holds waveform and test distance data.
B Scan display feature. Intuitively display the defect shape of the workpiece and the detection result is more intuitive.
Specifications:
Measuring Range: 0 to 15000 mm, at steel velocity
Pulse Repetition Frequency ranges from 20 Hz to 2000 Hz
Material Velocity: 1000 to 20000m/s
Pulse Repetition Frequency ranges from 20 Hz to 2000 Hz
Dynamic range: more 40dB
System Linearity: Horizontal: +/-0.2% FSW,
Vertical: 0.25% FSH, Amplifier Accuracy +/-1 dB.
Resolving Power: more 40dB
Sensitivity Leavings: more 50dB(Deep 200mmФ2 flat-bottomed hole)
Reject (suppression): 0 to 80% full screen height
Noise: less than10%
Gate Monitors: Two independent gates controllable over entire sweep range
Gain: 110 dB max in selectable resolution 0.1, 1.0, 2.0, 6.0 dB.
Bandwidth (amplifier bandpass ): 0.2 to 20 MHz
Pulse Displacement: more 32dB
Display Delay: -20 to 3400 µs
Probe Delay/Zero Offset : 0 to 99.99µs
Test Modes: Pulse echo, dual element and thru-transmission
Pulser: Tunable Wave Pulser
Pulse Energy: 100V, 200V, 250V, 300V, 500V selectable
Rectification: Positive half wave, negative half wave, full wave, RF
Units: Inch or millimeter
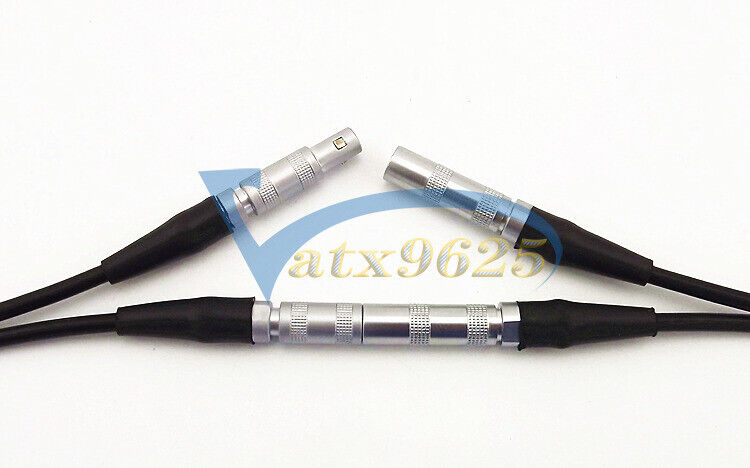
Transducer Connections: BNC or LEMO
Power Requirements: AC Mains 100-240 VAC, 50-60 Hz
Operating Temperature: -10℃ to 50℃, Storage Temperature: -30℃ to 50℃
Standard Package:
Host
Straight Probe
Angle Probe 4MHz,
Probe Connecting Cable
Power Adaptor & Cable
PC Software
Communication Cable
User Manual
Instrument Case


